
A remote ham radio exam can feel refreshingly simple right up until you start wondering, “Will my room pass the check?” That question is common, and the good news is that if you prepare room for remote ham exam requirements ahead of time, the process is usually straightforward. A few small adjustments to your space can reduce stress, avoid delays, and help your session start on time.
Remote testing is designed to protect exam integrity while giving you the convenience of testing from home. That means proctors need to see that your workspace is clear, your technology is working, and the room setup meets the session rules. The goal is not to make things difficult. It is to create a fair, compliant environment for every candidate.
Why your room setup matters
When you test in person, the exam team controls the room. In a remote session, that responsibility shifts to you. Your testing team still follows ARRL procedures and remote proctoring standards, but your home space becomes the test site.
That is why room preparation matters so much. A cluttered desk, poor lighting, background noise, or extra screens can slow down check-in. In some cases, the session may need to pause until the space is corrected. Most of these issues are easy to prevent if you think through the room before exam day instead of five minutes before your appointment.
A good setup also helps you focus. Amateur radio exams already demand concentration. You do not want to spend mental energy worrying about whether the camera angle is wrong or whether someone might walk into the room.
Choose the best room for a remote ham exam
The best room is usually not the fanciest one. It is the one you can control. A small home office, bedroom, or quiet dining area often works well if you can close the door and limit interruptions.
Privacy matters. Pick a room where other people, pets, televisions, and household traffic are less likely to interfere. If you live with family or roommates, let them know exactly when your exam is scheduled and ask them not to enter the room until you are finished.
Noise is another factor. Some background sound is unavoidable in real life, but loud conversations, music, barking dogs, or a running TV can create problems. If your home gets noisy at certain times of day, schedule around that if possible.
Lighting matters more than many candidates expect. Your proctors need to see you, your ID, and your testing area clearly. Natural light can help, but direct sunlight behind you may make you appear too dark on camera. A lamp placed in front of you or slightly to the side is often a better choice.
How to prepare room for remote ham exam check-in
Think of check-in as a short room inspection paired with an identity check. Your exam team may ask you to use your webcam to show the desk surface, the area under the desk, nearby walls, and the floor around you. They may also ask to see your computer setup and confirm that prohibited materials are not within reach.
That means your workspace should be intentionally simple. Start with a clear desk. Remove books, papers, notebooks, sticky notes, radios, tablets, smart speakers, and anything else that could raise questions. If you use multiple monitors for work, disconnect or move the extras out of the testing area before the session begins.
If your walls have reference charts, whiteboards with notes, or technical diagrams, be ready to remove them, cover them, or test in another room. The standard is not about suspicion. It is about keeping the environment consistent and distraction-free.
Your phone deserves special attention. Some sessions require it for part of the process, while others may require it to be out of reach after check-in. Follow the instructions provided for your exam session, and do not assume the same rule applies everywhere. Remote exam procedures can vary slightly by team and platform.
Keep your desk simple and compliant
A clean desk is one of the easiest ways to make a strong start. At minimum, you should expect to have only the items your exam team allows. Typically that includes your computer, webcam, mouse if needed, and any permitted identification or paperwork required for check-in.
Do not leave casual items nearby just because they seem harmless. A spare keyboard, a stack of mail, headphones you are not using, or an old notepad can all trigger extra questions. It is faster to clear everything than to explain everything.
Your chair and seating position matter too. Sit where the camera can show you clearly without constant shifting. If you are using a laptop, make sure it is stable and at a comfortable height. You do not want to hunch over for the entire session or keep adjusting the screen angle.
If you need scratch paper, calculator guidance, or any accommodation information, check the session instructions in advance. Never assume an item is allowed just because it was allowed during a practice test or another exam.
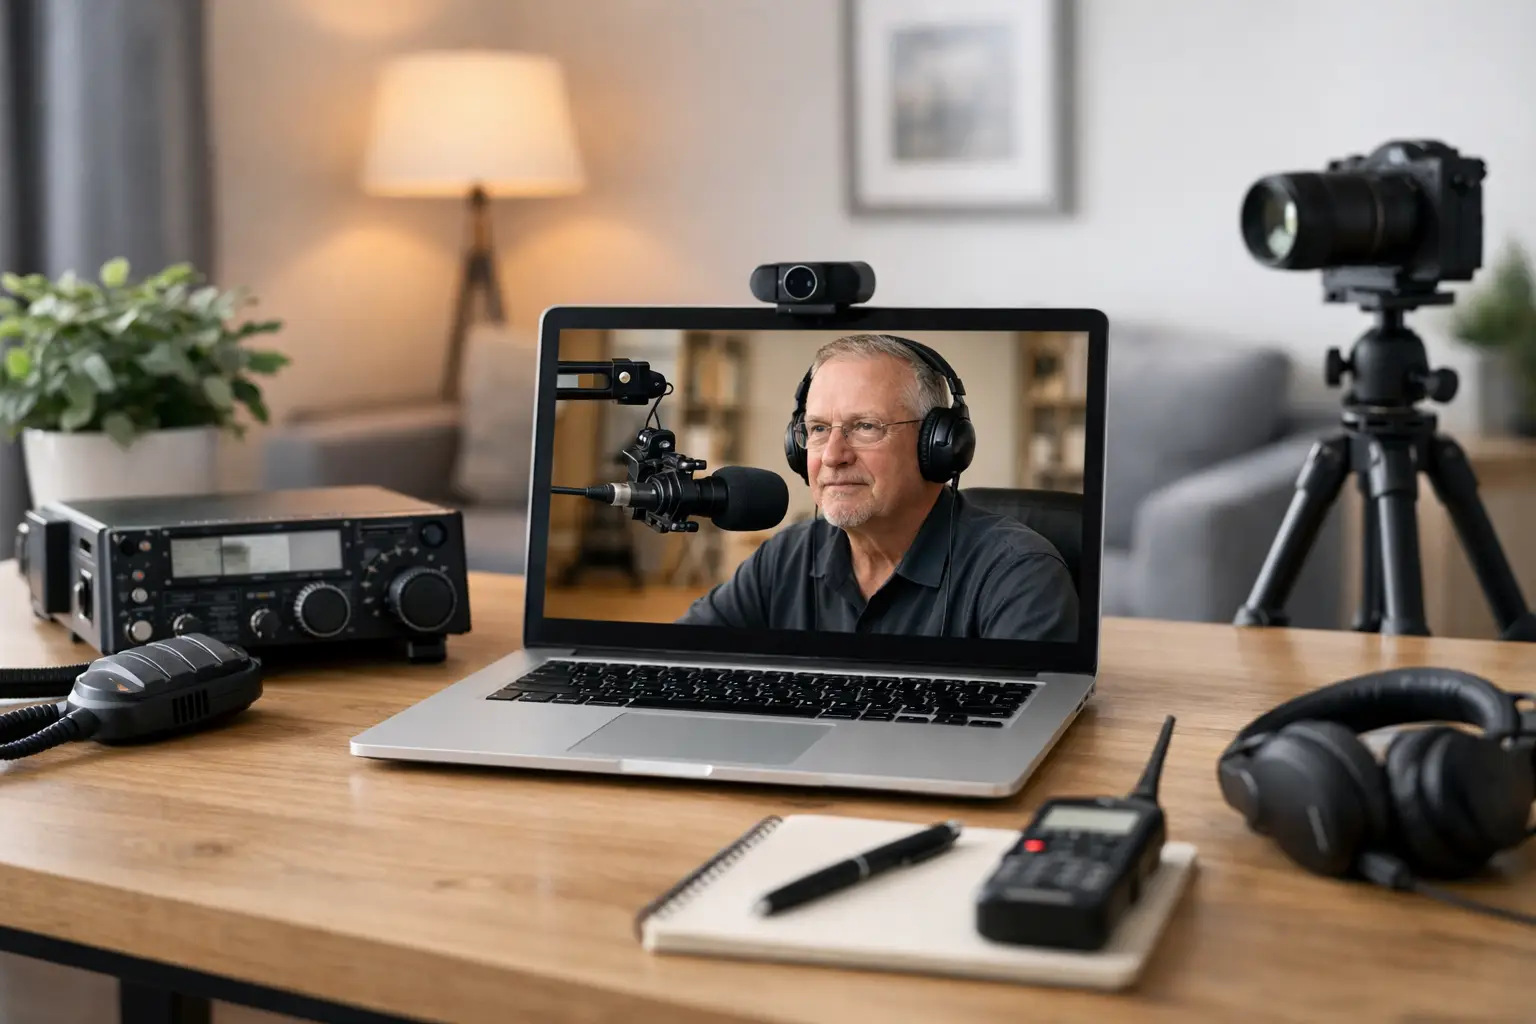
Technology and room setup work together
Candidates often separate technical prep from room prep, but they affect each other. A strong internet connection in the wrong room is not enough, and a perfect desk in a Wi-Fi dead zone is not enough either.
Before exam day, test your connection in the exact room where you plan to sit. Launch Zoom, check your camera view, and confirm your microphone is clear. If your signal drops in that room, moving closer to your router or using a wired connection may help.
Camera placement is worth checking early. Your proctors need a stable, usable view. If your laptop wobbles every time you type, fix that before the session. If your webcam image is dim or grainy, adjust the light source rather than hoping it will be fine.
Audio should be clear without being overly sensitive. A fan blowing directly into your microphone can be distracting. So can a loud air conditioner. Comfort matters, but if possible, reduce anything that creates steady background noise during the exam.
Common room issues that cause delays
Most exam-day problems are not dramatic. They are small setup issues that add time and stress. The most common one is clutter. Candidates often underestimate how much is visible on a desk or shelf until the camera is on.
The second is interruption risk. A locked door is ideal if you have one. If not, a clear sign on the door and direct communication with others in the home can prevent awkward interruptions.
The third is poor camera lighting. If your proctor cannot clearly read your ID or see your testing area, check-in takes longer. Test this in advance by opening your camera and holding your ID up where you will be seated.
Another issue is leaving extra electronics nearby. Smartwatches, second phones, tablets, and powered-on monitors should be addressed before the exam begins. Even if you do not plan to use them, visible electronics can complicate the process.
A practical prep routine for exam day
The easiest way to prepare room for remote ham exam success is to do a short reset about 30 to 60 minutes before your appointment. Wipe the desk clear, check the lighting, close unnecessary apps, and make sure the room is quiet. Then sit down and view the room through your own camera.
Ask yourself a few simple questions. Can the camera see me clearly? Is there anything on the desk that does not need to be there? Could someone walk in unexpectedly? Is my ID easy to reach for check-in? Those quick checks catch most issues.
Have a glass of water before the session if allowed, use the restroom in advance, and silence anything that could distract you. You want your attention on the exam, not on the dog barking in the hallway or the package alert on your phone.
A lot of candidates feel nervous about the room scan, but experienced remote teams guide people through it every day. At Middle Tennessee Exams, for example, the process is structured to be clear and supportive while still meeting standards. You do not need a perfect home office. You need a compliant, quiet, workable space.
The goal is confidence, not perfection
There is no prize for having the most polished testing room. Proctors are not grading your furniture, your decor, or whether your desk looks like a magazine photo. They are making sure the environment is secure, fair, and suitable for a remote exam.
So keep it simple. Choose a quiet room, clear the space, test your technology, and follow the instructions you were given. That preparation pays off because it lets you start the session with fewer surprises and more confidence.
Your exam day should feel organized, not rushed. A calm room helps create a calm mindset, and that gives you the best chance to show what you know when the test begins.